

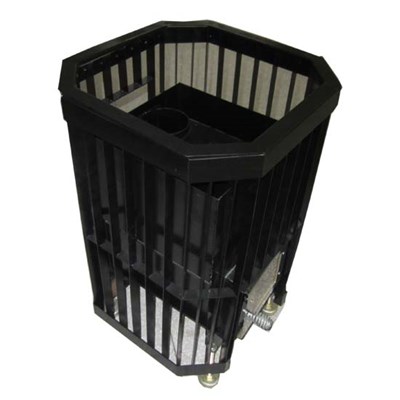


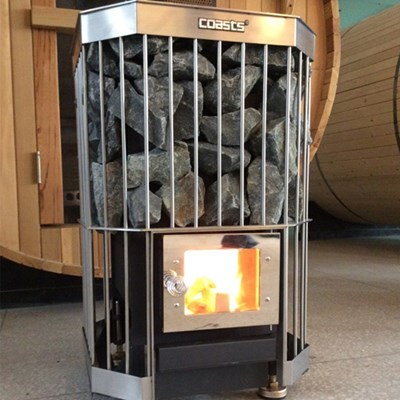

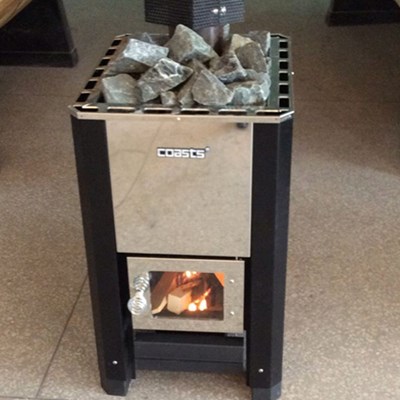


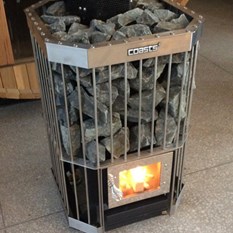
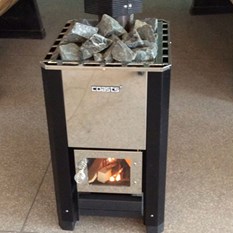


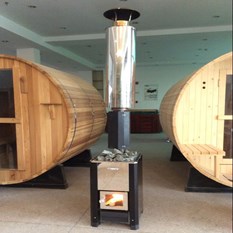
It could reach the biggest power same as the electrical sauna heater.
|
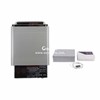
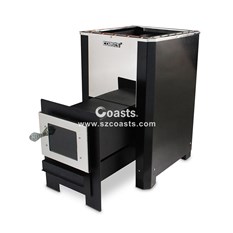
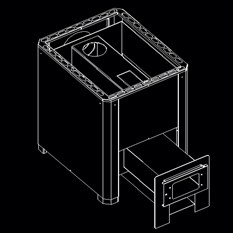
Model: CY-15A MAX 15KW |
Outer size:400×460×680MM |
Inner size: (320×340×580) |
|
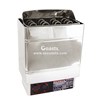
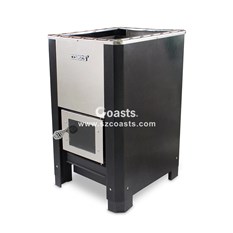
Model: CY-18A MAX 18KW |
Outer size:480×580×780MM |
Inner size:(400×460×680) |
|
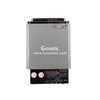
Model: CY-22A MAX 22KW |
Outer size:490×600×830MM |
Inner size:(410×480×730) |
|
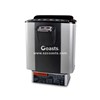
Model: CY-15A-L MAX 15KW |
Outer size:400×460×680MM |
Inner size: (320×340×580) |
|
Model: CY-18A -LMAX 18KW |
Outer size:480×580×780MM |
Inner size:(400×460×680) |
|
Model: CY-22A-L MAX 22KW |
Outer size:490×600×830MM |
Inner size:(410×480×730) |
|
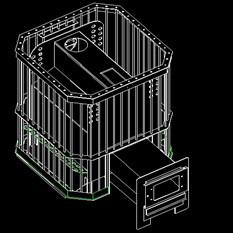
Model: CY-15B MAX 15KW |
Outer size:480×480×660MM |
Inner size: (320×340×580) |
|
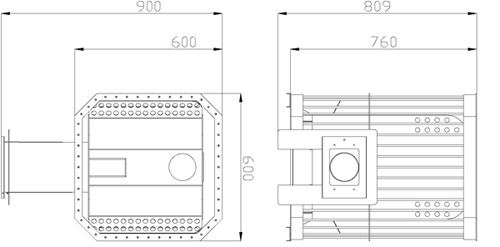
Model: CY-18BMAX 18KW |
Outer size:600×600×760MM |
Inner size:(400×460×680) |
|
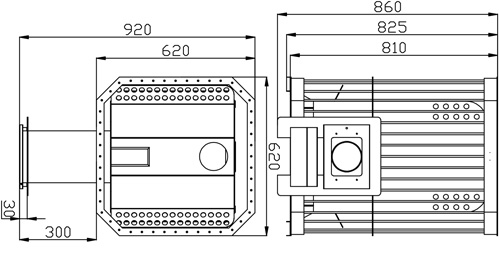
Model: CY-22BMAX 22KW |
Outer size:620×620×810MM |
Inner size:(410×480×730) |
|
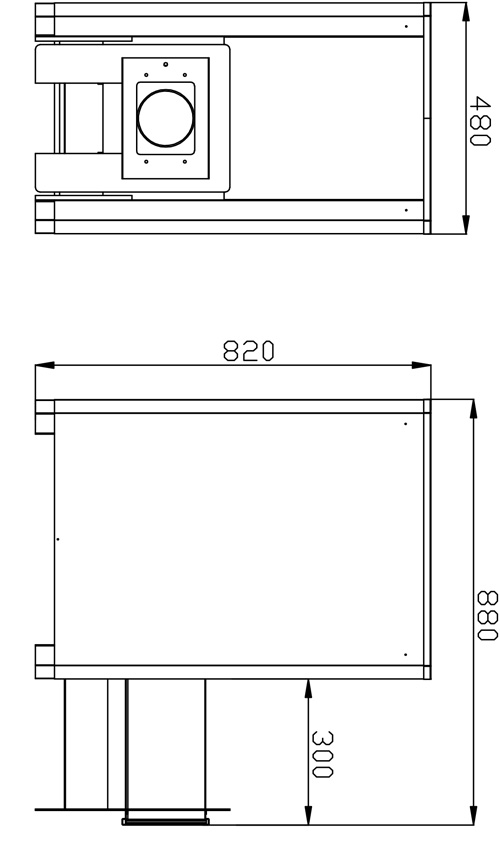
Model: CY-15B-L MAX 15KW |
Outer size:480×480×660MM |
Inner size: (320×340×580) |
|
Model: CY-18B-L MAX 18KW |
Outer size:600×600×760MM |
Inner size:(400×460×680) |
|
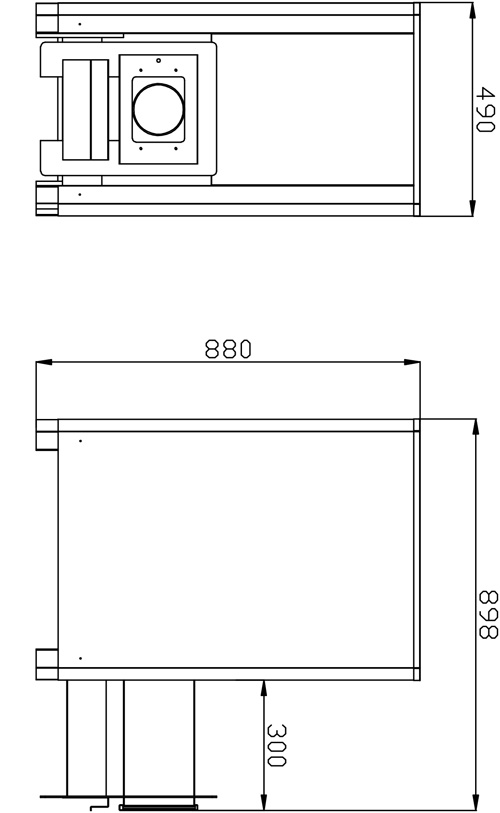
Model: CY-22B-L MAX 22KW |
Outer size:620×620×810MM |
Inner size:(410×480×730) |
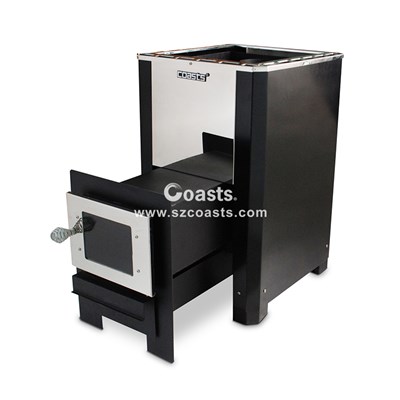
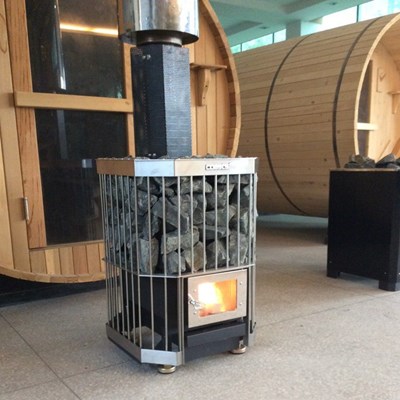
INSTRUCTIONS FOR INSTALLATION, USE AND MAINTENANCE
Side walls:
Woodburning sauna stoves are regarded as fireplaces having scorching surfaces. In our stoves, the surface temperature will not exceed 350℃, and the following safety distances should be observed when using them:
Flammable structural elements such as wooden walls, sauna seats etc.
1.Minimum distance between the vertical surfaces of the stove and any unprotected wooden structural element: 20".
2.However, the safety distance mentioned in item 1 can be decreased to minimum 10" provided a single light protection is used. This kind of single light protection can be constructed either by using a minimum 1/4" thick incombustible cement plate reinforced with fiber, or by fastening an at least 1mm thick metal plate densely enough to the wall. A minimum 1-1/4" vent hole must be left between the protective plate and the wooden surface to be protected. This can be done for example by using pipe bushings as intermediate supports.
3.The safety distance mentioned on item 1 can be further decreased to minimum 5" provided a double protection is used. The double protection can be constructed using two plates described in item 2, in addition to which an at least 1-1/4" vent hole must be left between the wall and the plates.
4.If the wall has been bedded in, a 2"vent hole between the wall and the vertical surfaces of the stove is enough.
5.A 2-1/4"embedding with open sides at a minimum 1-1/4" distance away from the protected surface is equivalent for a single light protection. Likewise, a 4-1/4" embedding not touching the protected surface would be equivalent for a double light protection.
Protecting the ceiling:
Provided the distance between the stove top and the ceiling is minimum 47-3/4", no special protection is needed for the ceiling. If the distance is less than 47-3/4", you can choose one of the protection methods mentioned in items 1-3. The ceiling protection must extend above the vertical surfaces of the stove.
Fireplace base:
The fireplace must be installed on a rigid base. This base must be strong enough to bear the weight of the fireplace and to prevent any excessive rise of temperature of the structural elements connected to it. When installing the stove on a wooden floor, it is advisable to use a minimum 2"thick concrete slab or a minimum 1/4"thick fiber-reinforced cement plate covered by a metal plate.
Protecting the floor in front of the stove:
The safety distances listed in items 1-5 cannot be applied to a combustible floor area in front of the stove. This area should be protected using a metal plate connected to the floor and closely fitting the stove. The floor protection in front of the stove must extend at least to 4" beyond both sides of the oven mouth and to 15-3/4" in front of it.
Wall protection and choices of materials:
If the wooden walls surrounding the heater are closer than the required minimum safety distance recommends and the walls are made of a combustible material (panels, boards, logs, etc), the wall surfaces must be protected.
A 2-3/16" masonry equals single-layer protection, and 4-3/8"masonry equals double layer protection. The masonry must be open-ended and at least 1-18" from the surface being protected, extending 23-5/8" above the top of the heater, and have a 15-3/4" minimum safety distance on each side.
Wood materials used in the sauna room, such as panels, will darken over time. This darkening is caused by temperature changes in the sauna. If the wall panels have been treated, the wall surfaces above the heater will begin to darken very quickly depending on the treatment used. Darkening is due to the fact that the treatment has a weaker resistance to heat than untreated wood. This has been proved in material tests.
Fine-grained stone particles rising from crumbling sauna rocks with air currents may darken the wall surfaces around the heater. If the heater installation instructions are followed, the heater will not heat up combustible materials used in the sauna room to a dangerous level. The maximum allowed temperature for wall and ceiling surfaces is +140℃. Note Glass and stone surfaces can be very hot to the touch.
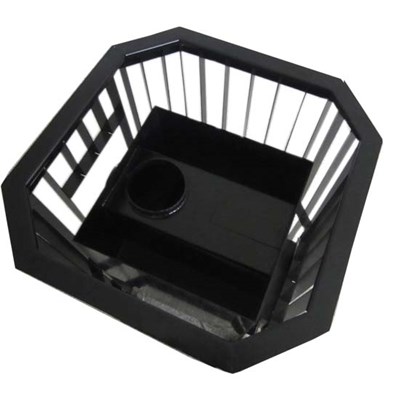
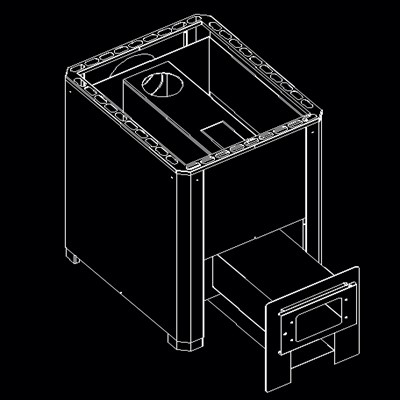
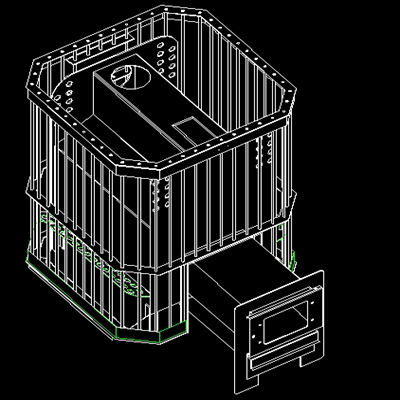
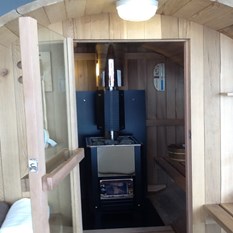
Installing the stove:
As in all our stoves, there is an escape hole for the smoke flue on top of the stove as well as behind it. You can close the unnecessary hole using the cap supplied. Included with the delivery, you will also receive a 8"connecting pipe and a 6"enlarger adaptor for connecting the stove to the smoke flue through the back hole. When connecting the stove to the smoke flue through the hole on top of the stove, we recommend you use our connecting pipes which are available as accessories. When doing this, do not forget to close the smoke hole behind the stove using the cover supplied.
Do not install the connecting pipe too deep into the smoke flue, because this would block the draft. The gap between the smoke flue and the connecting pipe must be filled using e.g. mineral wool.
When installing the stove, make sure the stove stands firmly on its base and the proper safety distances mentioned in these instructions have been observed.